Epoxy Flooring in Bradenton, FL and the Surrounding Areas
The 8-Step Process for a Long-Lasting Epoxy Floor
At our company, we don’t just install epoxy floors—we engineer them to last. Every step in our process is intentional, built on years of experience, and backed by science. Here’s how we ensure your floor is flawless and built for life:
Step 1: Moisture Testing
We start by testing the concrete for moisture using accurate surface-level gauges. This critical step determines how much protection your floor will need during prep. If this step is skipped and moisture is present, it won’t matter how well the surface is prepped or how high-end the product is—the coating will fail. That’s why we never skip it.
Step 2: Concrete Hardness Testing
Not all concrete is created equal. We test the hardness of your surface to select the right grinding discs. If we use discs that are too aggressive on soft concrete, it digs in too deep—making the surface overly porous, causing the chips not to adhere to the epoxy and eventually loosen. If the concrete is hard and we use discs that are too soft, they won’t open the pores enough, and the epoxy won’t bond properly, leading to peeling. This step ensures perfect mechanical adhesion based on your floor’s specific profile.
Step 3: Full Surface Grinding
Next, we grind the entire surface using a 12-disc commercial-grade grinder (most use only 8). This machine levels the floor while reaching deeper into the concrete to fully open the pores. Even perfectly poured slabs have low spots—a standard grinder creates uneven dips. Our 12-disc system “floats” these dips and keeps the floor level. Opening the pores deeply, ensuring our epoxy bonds into the concrete, not just on top of it—this is what makes it last. To control dust—which can ruin adhesion—we use an industrial vacuum system designed to capture every particle during grinding, leaving your property clean and your floor fully ready for epoxy. If the dust is not mitigated it will be in the air and will not settle for a long period of time. This causes a problem when applying epoxy. The epoxy will not adhere properly. The best thing is our grinder is powered by propane. Electric is unable to produce the power needed to run a machine of this quality. It allows for more power to get the floor prepped in half the time so you can be back on it sooner and leaves behind a perfectly prepped floor.
Step 4: Edge Grinding
Many companies skip proper edge work, but we don’t. If the edges are not prepped with the same precision as the center of the floor, the epoxy will begin to peel from the edges inward—undoing all the hard work. We use high-grade mini-grinders to get tight against the edges, ensuring a completely bonded floor from wall to wall.
Step 5: Crack & Imperfection Repair
After grinding, we repair all cracks and surface flaws using an industrial-grade joint compound stronger than the concrete itself. If the right joint compound is not used it will not adhere long term and eventually crack.
Now the final step before the epoxy application is very important and often overlooked by many. Just because the floor looks clean does not mean it is. Our deep clean process removes oils, grease, wax, or any other contaminants that could prevent the epoxy from bonding properly to the concrete. It dries super fast, which means it won’t leave moisture behind—this is critical because epoxy won’t bond well to damp surfaces.
Step 6: Epoxy Application
We use a high-performance moisture-blocking epoxy base coat, not a polyaspartic like many others. Even after testing for moisture, grinding exposes fresh concrete, which could still hold residual moisture. Epoxy’s built-in vapor barrier gives us certainty and protection. Polyaspartic bais coats have 0 protection against moisture. Epoxy base coat penetrates deeper than polyaspartic, locking in your new floor and giving it unbeatable adhesion and durability.
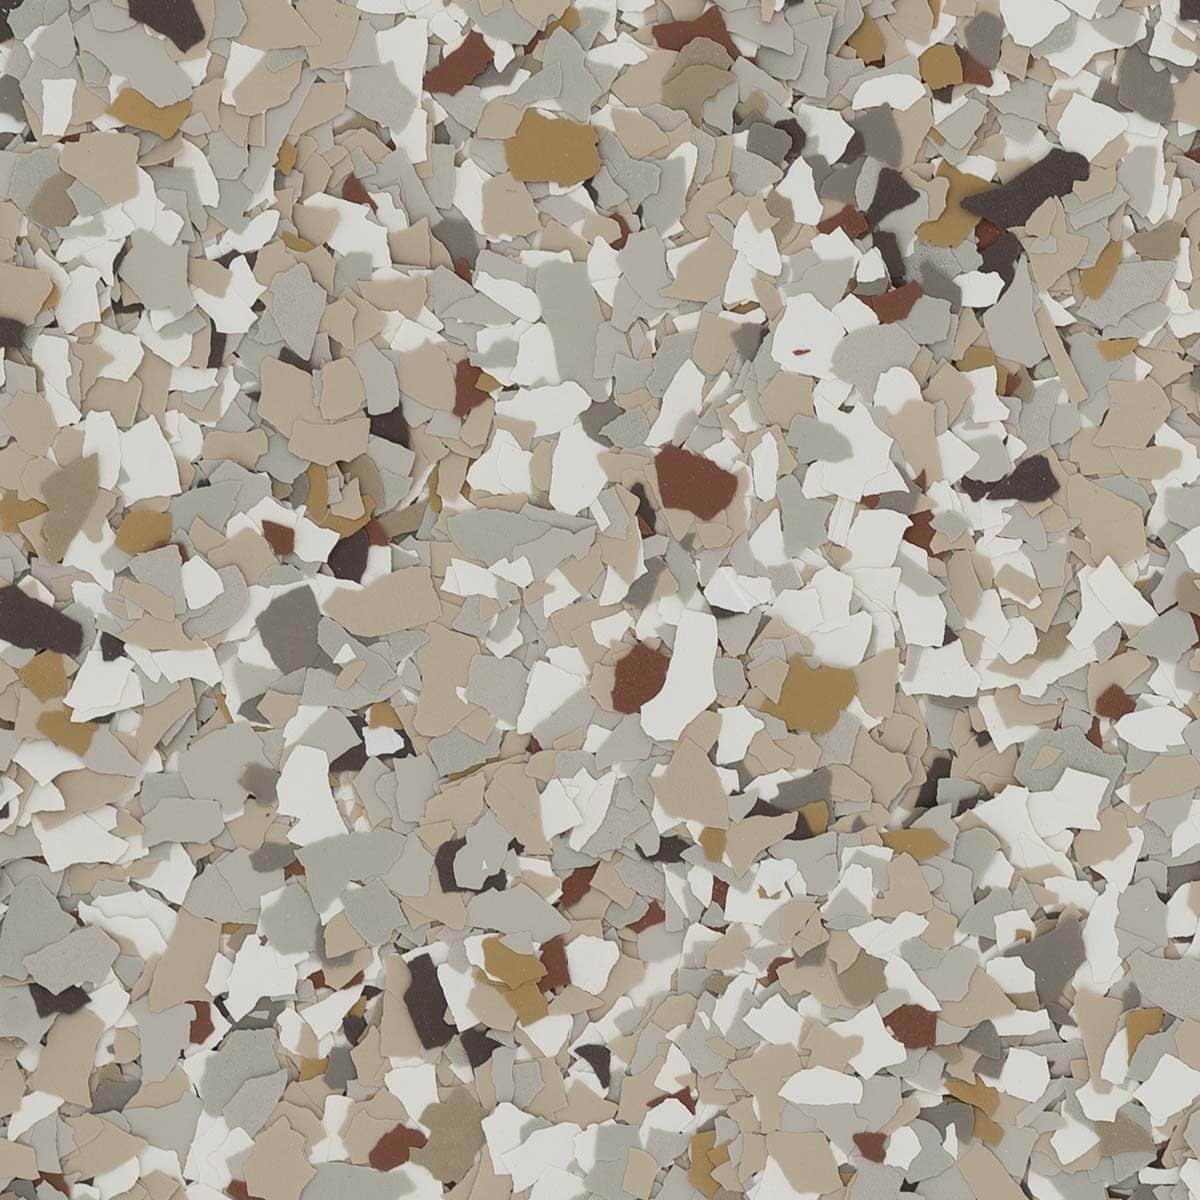
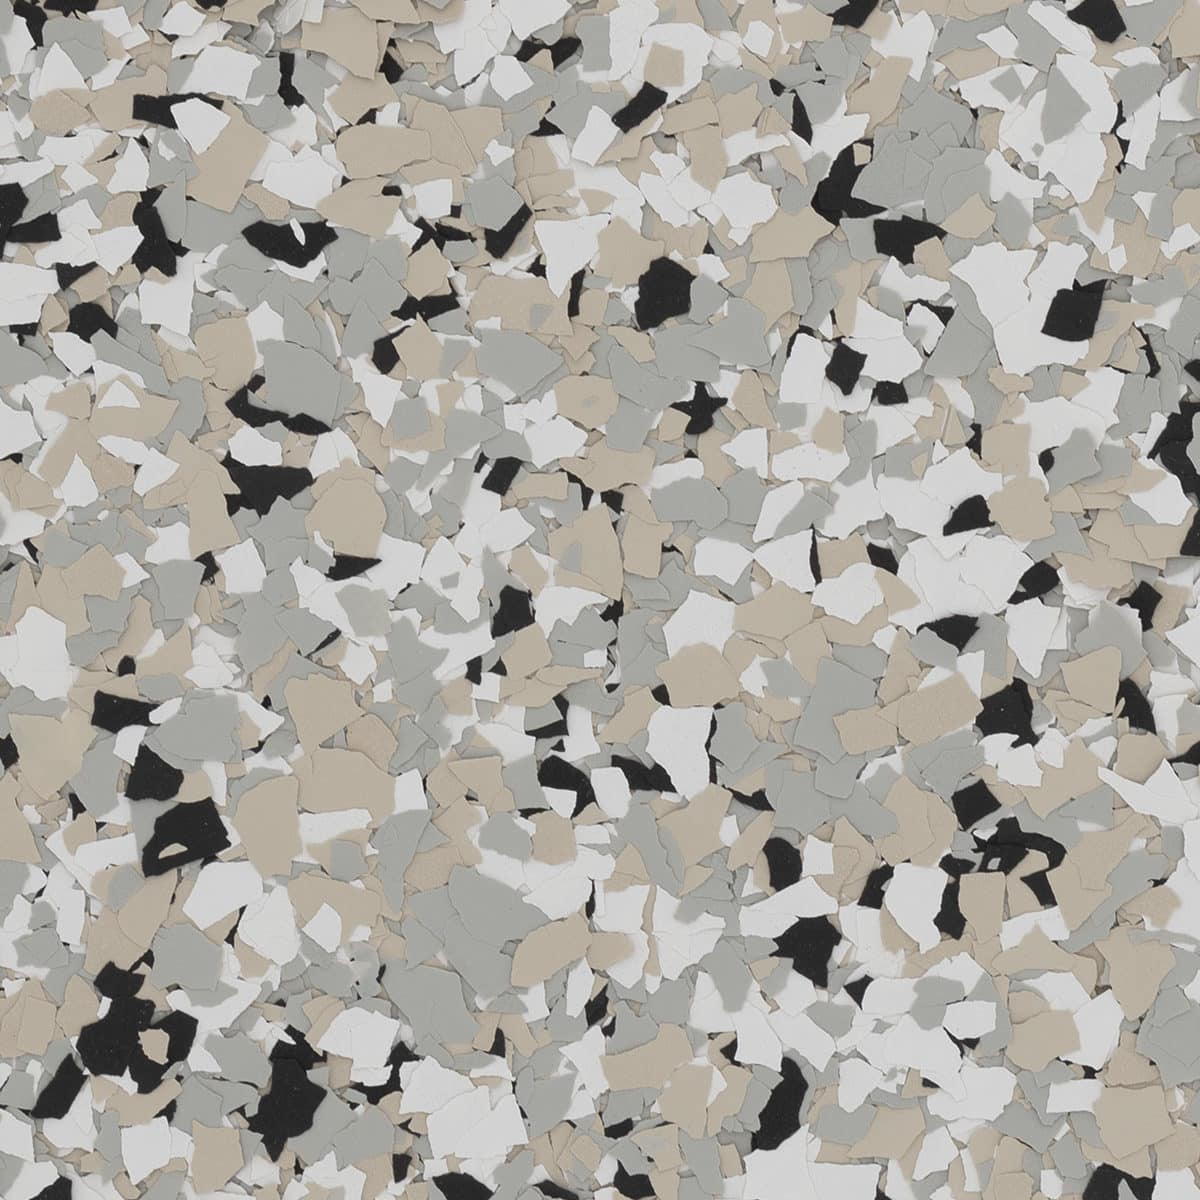
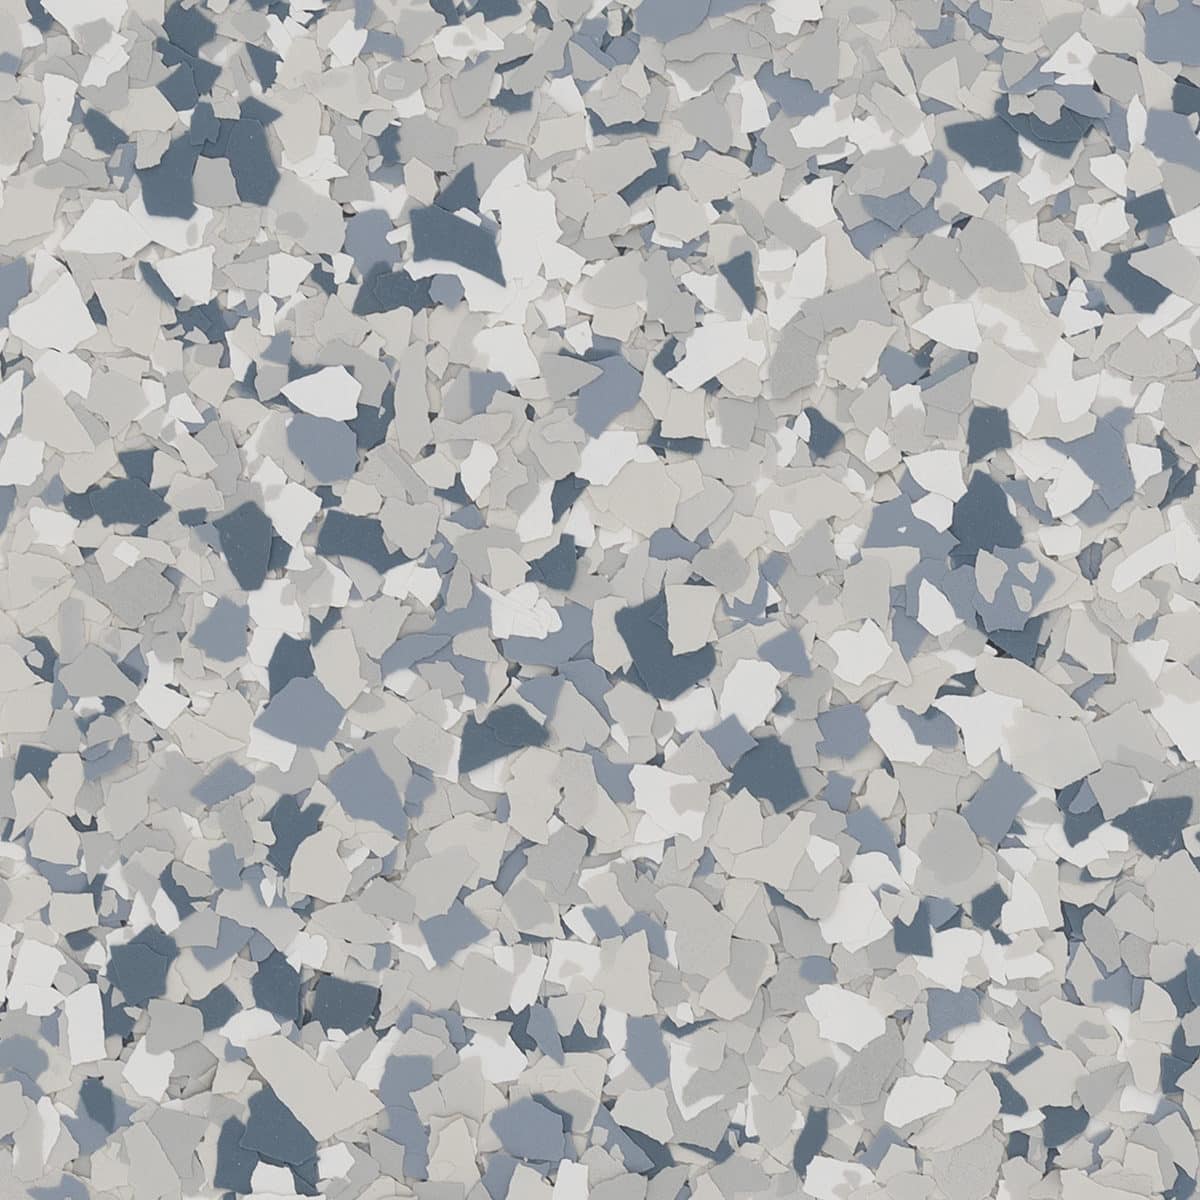
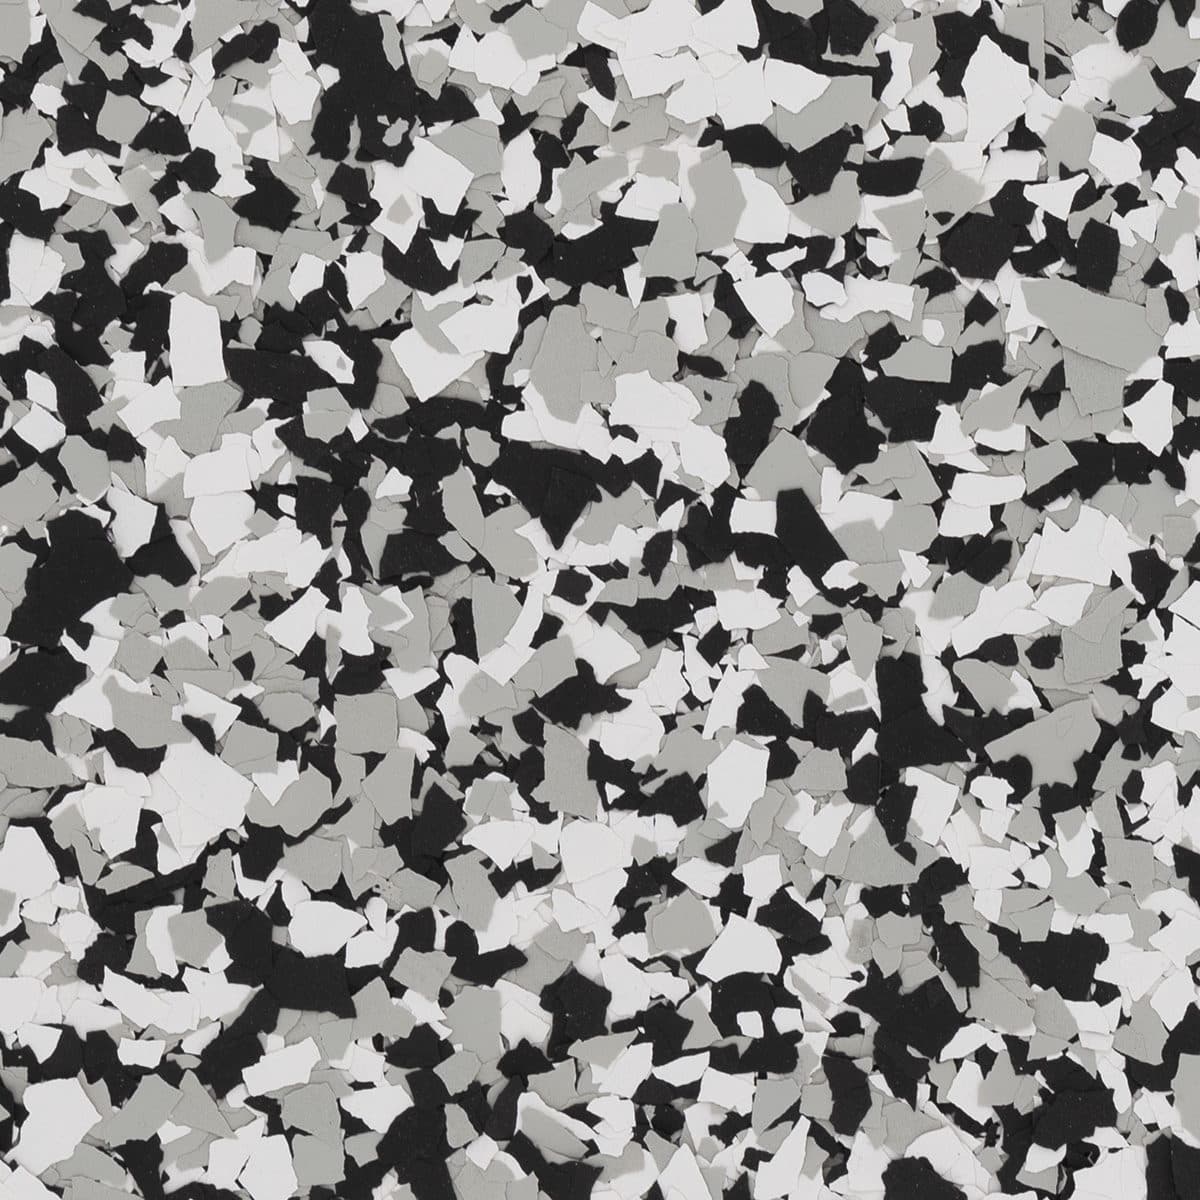
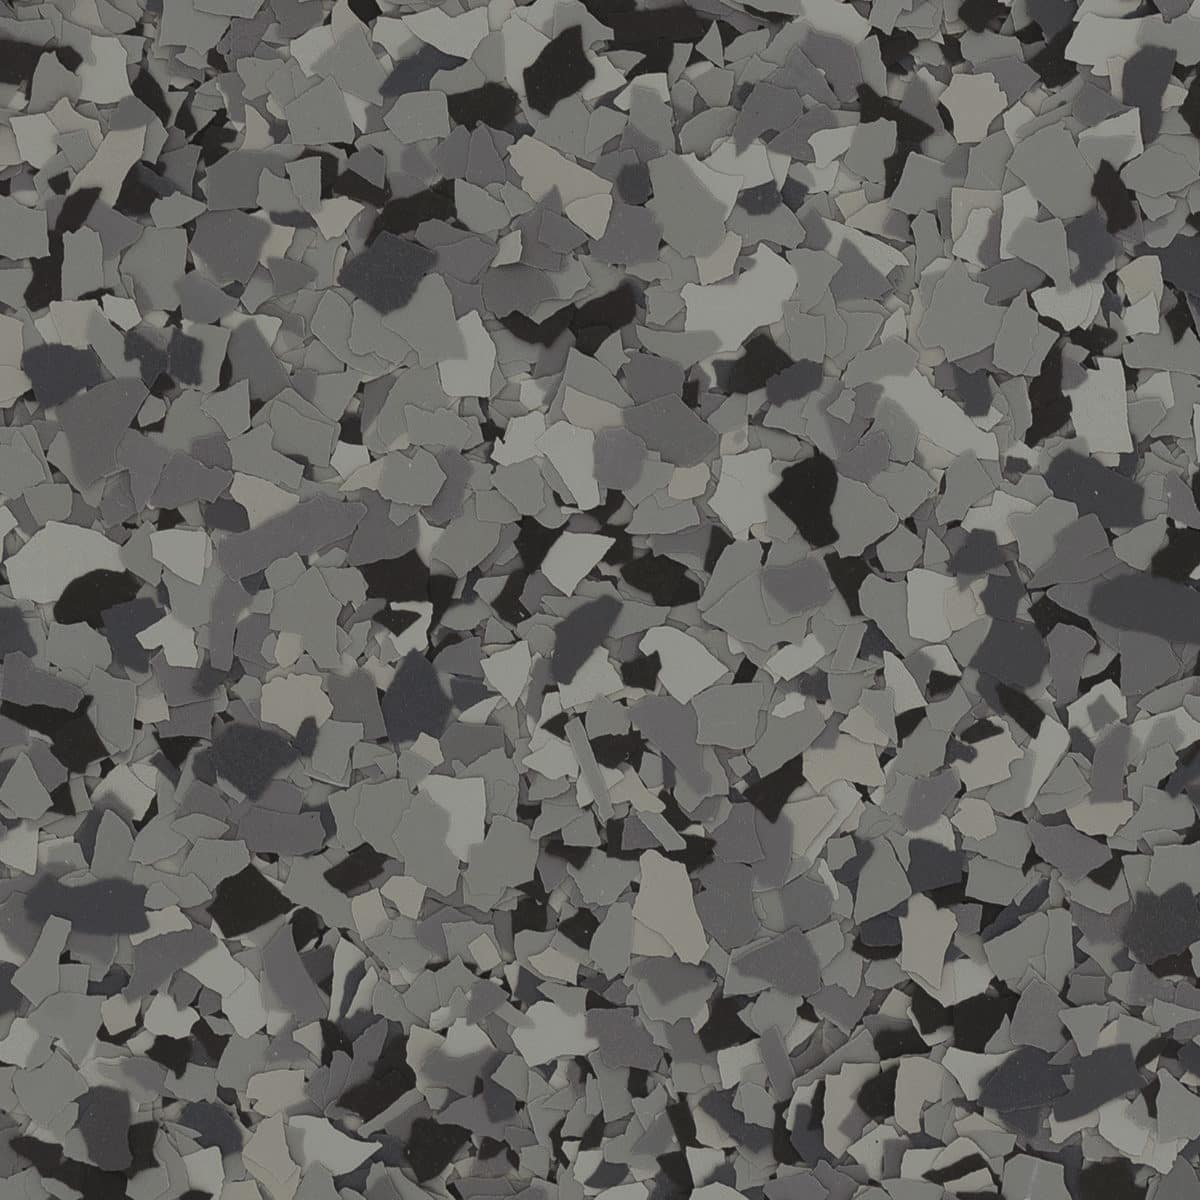
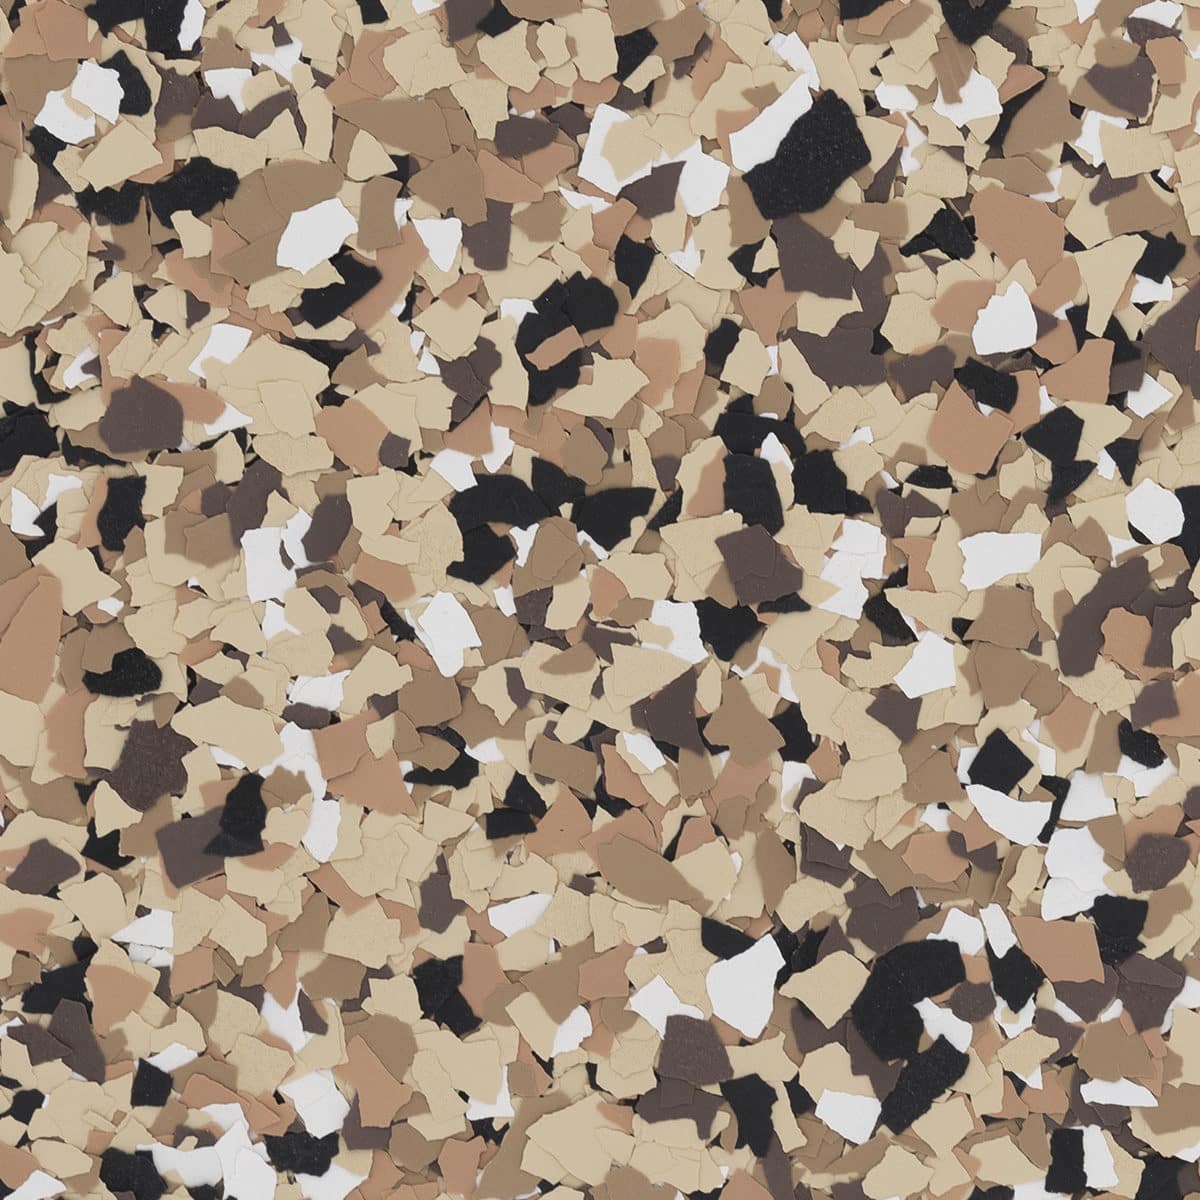
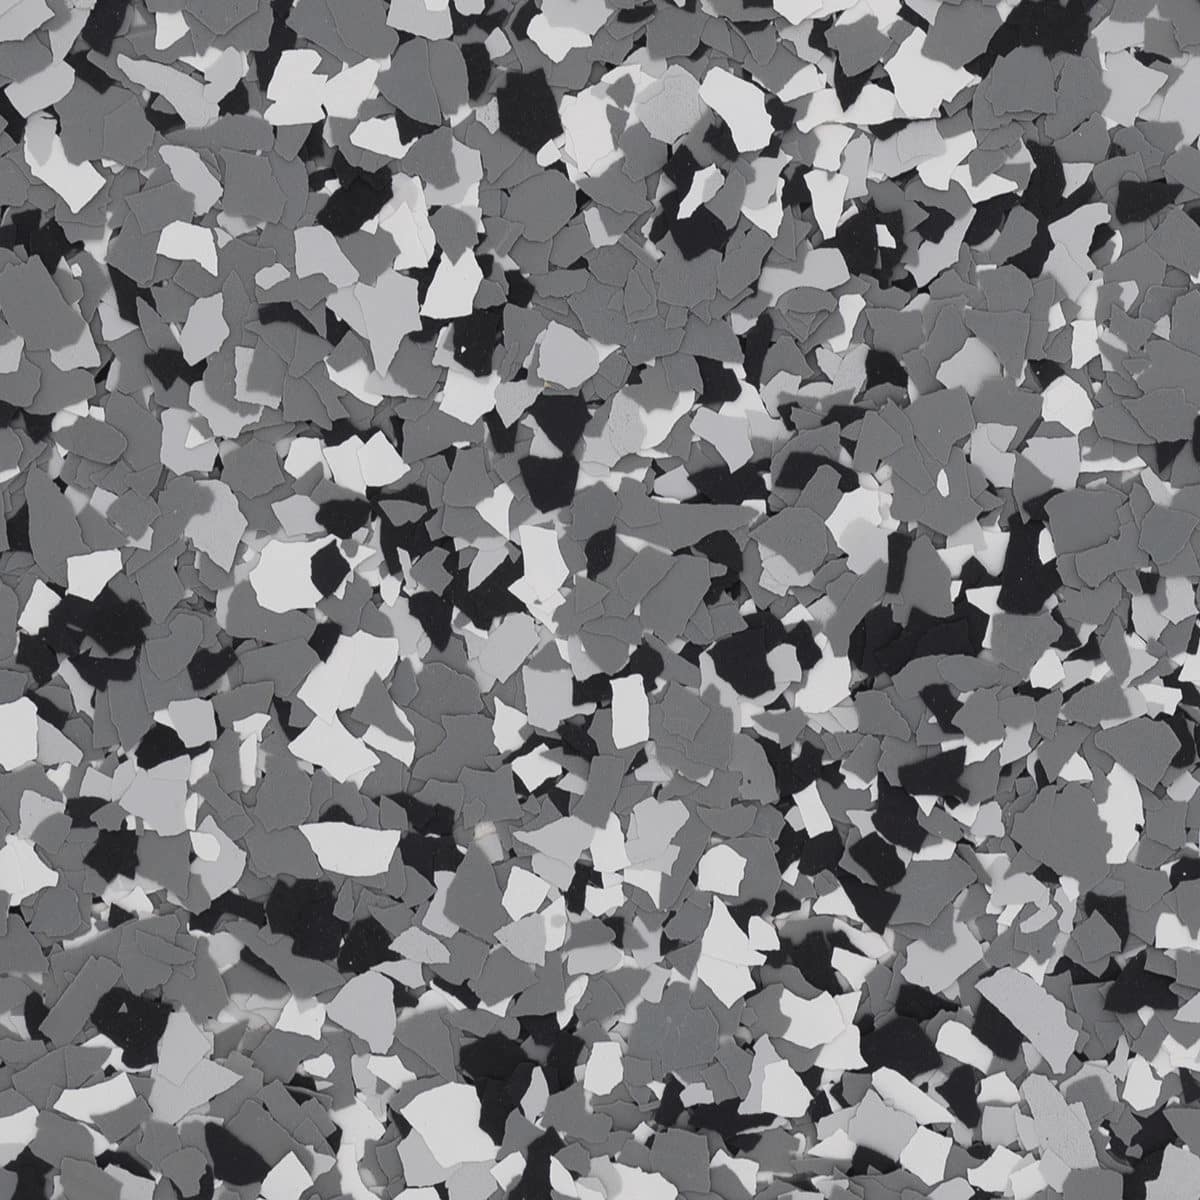
Step 7: Chip Broadcasting
Next, we broadcast ¼-inch color chips—not too small, not too large—ensuring a balanced, professional look. We apply these evenly across the floor to give it character, texture, and long-term beauty. After a short drying period (about 2 hours depending on temperature), the chips are ready for finishing.
We scrape off excess chips to level the surface and remove any that didn’t fully adhere. This step is crucial—done incorrectly, it could leave rough spots or cause future peeling. We use premium scrapers that remove just the right amount, leaving behind a perfectly textured floor ready for the top coat.
Step 8: Polyaspartic Top Coat + Optional Slip Guard
When applying the top coat, we use a premium-grade polyaspartic coating—20 times stronger than other top coats. Creating a tighter, longer-lasting seal.
The thickness of the application is critical. If it’s spread too thin, the surface will feel rough and unfinished. If it’s applied too thick, it becomes Slippery. We use high-performance application tools to achieve the perfect balance between smoothness and traction, ensuring your floor is safe, functional, and beautiful. This top coat will protect against. Tire marks, Stains, Peeling and Uv damage. For extra protection, we offer a Slip Guard additive in the final coat. Ensuring you and your family stay safe.

Seamless Style and Safety for Every Space
Your floor should do more than just look good. It should support your lifestyle, keep your family safe and be easy to maintain. That’s why more homeowners and businesses are installing epoxy flooring in Bradenton, FL and nearby areas. At UBA, we specialize in providing epoxy and polyaspartic coatings that are both functional and attractive, giving you peace of mind and a polished look. We believe that you deserve a flooring solution that reflects the quality of your space, which is why we ensure our coatings offer long-term durability without sacrificing beauty.
Every installation we complete follows our proven 8-step process, starting with proper concrete prep and ending with a premium topcoat. The result is a seamless surface that resists water, chemicals and abrasion. Whether it’s a garage used for home projects or a pool deck where kids play all summer, our floors are built to handle your day-to-day activities.
Upgrade your surfaces with a floor system built for style, safety and strength. Schedule your consultation for epoxy flooring in Bradenton, FL and the surrounding areas with our expert team today.
Built for Real Life, Backed by Real Results
At UBA, we believe your floor should do more than just complete the look of a space. It should support your lifestyle, endure the demands of everyday use and give you peace of mind. That’s why our epoxy flooring in Bradenton, FL is engineered for real families and real conditions, not just showroom finishes.
We tailor every floor to fit your needs, combining careful surface preparation with high-performance materials designed for Florida’s unique climate. Our 8-step process ensures that each layer contributes to a seamless, durable and beautiful finish. But more than that, our epoxy flooring in Bradenton, FL and nearby communities ensure practical advantages that you can see and feel every day.
You can count on our epoxy flooring installations to:
- Resist common damage: Our coatings stand up to oil spills, rust stains, chlorine and household chemicals without breaking down or discoloring.
- Provide UV stability: Florida’s sun is intense. Our polyaspartic topcoat prevents fading, yellowing and brittleness over time.
- Enhance safety: With our optional Slip Guard additive, your surface stays grippy even when wet, reducing the risk of slips and falls.
- Simplify cleaning: Epoxy flooring creates a smooth, non-porous surface that’s easy to sweep, mop and maintain.
- Support heavy use: Whether you park vehicles, work on projects or host family events, our floors handle the pressure without cracking or peeling.
Whether you need flooring for a garage, patio or pool deck, we design every system to match the way you live and work. That’s why Bradenton families choose UBA for long-lasting, low-maintenance flooring solutions.
Ready to upgrade your space? Call UBA at (941) 218-8118 or fill out our contact form to schedule your consultation to get started with the epoxy flooring Bradenton, FL residents and business-owners prefer!

Garage Floors
Tough. Clean. Built to Last.
Transform your garage with a durable epoxy or polyaspartic floor built for heavy use and easy cleanup.
Pool Decks
Cool, Safe & Stylish Underfoot
Slip-resistant and UV-stable coatings that keep your pool deck looking great and feeling cool year-round.


Driveways
Curb Appeal Starts at the Driveway
Protect and enhance your driveway with a long-lasting coating designed to resist stains, wear, and Florida sun.
Lifetime Guarantee on Every Coating
Everyone Knows Epoxy.
But Our Polyaspartic top coat System is Built Different.
At UBA, we don’t settle for the standard. We start with an epoxy base coat that bonds deeper and harder than any other base coat on the market. Engineered with a built-in moisture barrier, this foundational layer prevents separation over time—even in Florida’s harsh, humid conditions.
Then, we top it off with a polyaspartic topcoat that’s not just stronger—it’s 20 times stronger than typical topcoats, and 10 times better looking.
This isn’t your average garage floor coating. It’s a high-performance surface designed for resistance, beauty, and long-term value—with no yellowing, no peeling, and no downtime.
Before & Afters


Protect and Beautify Your Concrete with UBA
At UBA, we know that your floor is more than just a surface—it’s part of your home, your routine and your everyday life. Our epoxy and polyaspartic systems are designed to provide long-term value with beautiful, durable results you can rely on. We don’t offer one-size-fits-all solutions. Every floor we install is tailored to fit your space, your needs and your lifestyle. Whether it’s a high-traffic garage, a busy outdoor area, or another space that needs extra protection, our team delivers results that hold up year after year.
Call us now at (941) 218-8118 or fill out our contact form to schedule a consultation. Let’s bring lasting performance, safety and style to your space with the expert epoxy flooring services Bradenton, FL and the surrounding area rely on.